Gallery walls are a great way to display multiple pictures (and objects) of any kind, especially if you would like to make a family themed wall. Staircase walls make a great space for a gallery wall because you’ll see it regularly as you use the stairs. It’s fun and easy to do – just follow our tips for a great result.
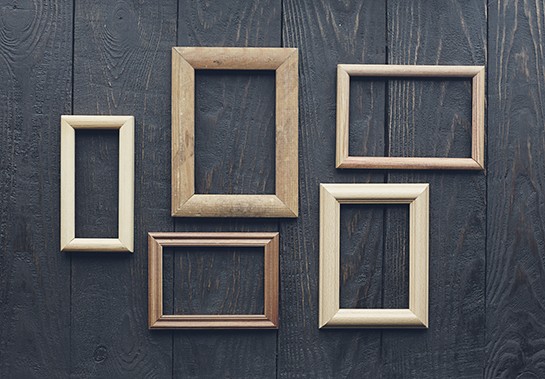
Vintage Frames on old wooden wall
1. Choose your pictures/photos/objects. Keep it interesting by choosing different sizes and media such as prints, photos, paintings, maps, medals or other memorabilia. Stay with a general colour scheme but don’t try to match everything – small shots of colour will add interest. Make sure you have a good mix of sizes as too many small pieces will look messy. You need at least one large piece to anchor the wall.
2. Choose your frames. For the best result look for frames that have different profiles, widths and textures. For a sophisticated look, choose frames in the same colour palette or for a more fun and relaxed look use frames in different colours. Don’t be afraid to ask us for help. Our framing team will be more than happy to give you advice. If you can show us some photos of the wall/room, it will help us to help you even more. Even if you are re-cycling old frames, we can advise on how best to use them and keep your pictures/photos/objects protected and safe on the wall. Perhaps most importantly we’ll help you avoid costly mistakes.
3. On the floor. Lay your pictures on the floor and play with different layouts. Before you start, measure the wall space you have and mark that out on the floor so that you work within the space you will have when you hang them. Move things around a bit like a tetris puzzle until you are happy with it. If you are hanging your gallery wall on the stairs, follow the upward line of the stairs to create a sense of movement. Don’t forget you might want to add to the wall over time, so allow space to hang additional pictures above and below the top and bottom lines, and to the left and right of the side lines.

Asymmetrical composition for simplicity and balance.
4. When you are happy with your plan on the floor, take a photo to refer to when you are hanging them!
5. Hanging. If you are hanging quite a large group, start with the centre piece and work outwards. Stand back regularly to check that you are happy with the layout and don’t be afraid to adjust it.